Understanding Drywall Basics
When it comes to constructing and renovating homes, drywall is one of the most commonly used materials due to its versatility, ease of installation, and affordability. Not only does it serve as the primary interior wall surface for homes and buildings, but it also plays a crucial role in defining spaces. In this comprehensive guide, we will explore the nuances of drywall, from its basic understanding and preparation for installation to maintenance and repair techniques.
What is Drywall?
Drywall, also known as gypsum board or wallboard, is a prefabricated panel made of gypsum plaster that is pressed between two thick sheets of paper. The resulting sheet is lightweight, easy to handle, and can be installed directly onto studs in walls or ceilings. Often used as a cost-effective alternative to traditional plaster, drywall also offers great insulation and fire-resistance properties, making it an ideal choice for a wide range of building applications.
Types of Drywall
Understanding the various types of drywall is essential for selecting the right material for your project. Here are the most common types:
- Standard Drywall: Commonly used for interior walls and ceilings.
- Moisture-Resistant Drywall: Also known as green board, this type is ideal for areas with high humidity like bathrooms and kitchens.
- Fire-Resistant Drywall: Designed with added fire-resistant properties, it is perfect for garage walls and commercial settings.
- Soundproof Drywall: This type contains additional sound-dampening materials, making it ideal for shared walls in multi-family housing.
- Flexible Drywall: Also referred to as bending board, this drywall type can be curved for unique architectural features.
Common Uses of Drywall
Drywall is extremely versatile and can be employed in various applications. Some of the most common uses include:
- Interior walls and ceilings in residential and commercial buildings.
- Creating partition walls for space separation.
- Covering insulation to improve thermal and sound performance.
- Finishing surfaces for paint or wallpaper application.
- Enhancing fire safety in buildings with fire-rated constructions.
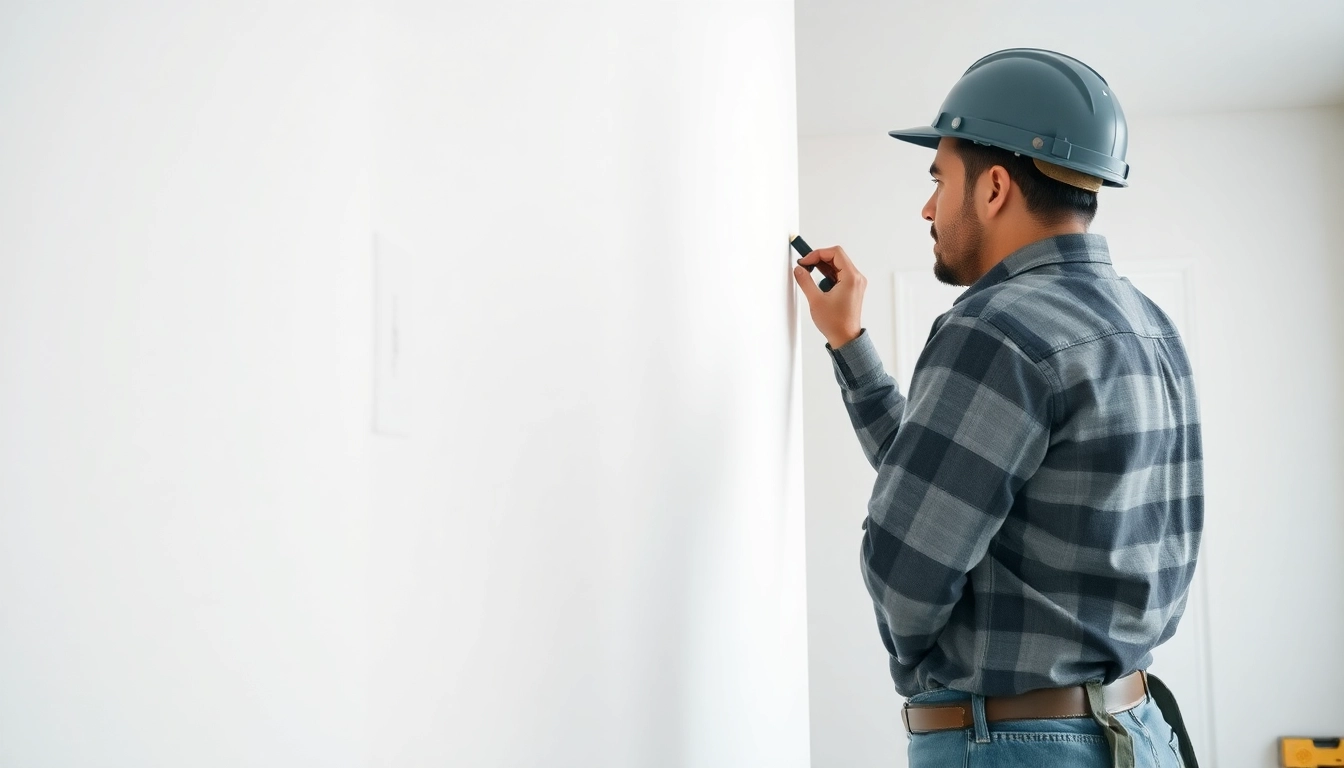
Preparation for Drywall Installation
Proper preparation is key to a successful drywall installation. Failing to prepare can result in numerous problems down the line, such as improper measurements and inadequate support.
Gathering Necessary Tools
Before embarking on your drywall project, ensure that you have all the necessary tools. Required items include:
- Measuring tape
- Carpenter’s level
- Utility knife for cutting drywall
- Drywall saw for precise cuts
- Drill with drywall screws
- Tape measure with chalk line for marking
- Joint compound and drywall tape for finishing
- Drywall lift for ceiling installation (if applicable)
Measuring and Planning
Accurate measurement is critical for a successful drywall installation. Begin by measuring the walls where the drywall will be installed. Create a detailed plan that includes the dimensions of each wall to determine the amount of drywall needed, reducing waste. Remember to account for windows, doors, and any other features that will affect the installation.
Wall Preparation Steps
Before hanging drywall, ensure that the wall framing is ready. Follow these preparation steps:
- Remove any existing wall coverings, such as wallpaper or paneling.
- Check the studs and frame for any damage that needs repair.
- Ensure that electrical wires and plumbing are properly placed to avoid conflicts.
- Level and brace any sagging or uneven sections of the wall.
- Install blocking for any areas that will require additional support, such as around windows and doors.
Drywall Installation Techniques
Once all preparation is complete, it’s time to dive into the actual installation of drywall. This requires careful techniques to ensure a professional finish.
Hanging Drywall
Hanging drywall involves attaching the panels to the studs or framework of your walls and ceilings. Follow these steps:
- Start from the top or ceiling area, fixing the drywall sheets on the studs using drywall screws.
- Secure the top edge first, then move down the sides, ensuring that each panel is tightly secured without gaps.
- For ceilings, a drywall lift can help hold the panels in place while you screw them in.
- Stagger the seams of your drywall to ensure strength and minimize cracking.
Taping and Mudding
Once the drywall is hung, the joints and seams require taping and mudding. This process involves:
- Applying drywall tape over the seams, both face tape and corner tape as needed.
- Using a putty knife, spread a thin layer of joint compound over the tape, then feather the edges for a smooth transition.
- Allow the first coat to dry before applying additional layers, which may be required for deeper joints or imperfections.
Finishing Techniques
Finishing is crucial for achieving a seamless appearance. Use these techniques for the best results:
- Sand down the dry joint compound to create a smooth surface.
- Apply primer before painting to help the paint adhere and provide an even finish.
- For textured finishes, consider using spray texture or manually applying textures with a brush or sponge.
Maintaining and Repairing Drywall
Like any other part of your home, drywall requires maintenance to ensure it remains in good condition. Regular inspections can help identify issues before they escalate.
Common Damage Types
Over time, drywall can sustain various types of damage, including:
- Holes from nails, screws, or accidental impacts.
- Water damage leading to stains and sagging, commonly found in bathrooms and kitchens.
- Cracks due to settling or structural movement in the home.
- Mold growth in areas with excessive moisture, such as around windows.
Repair Methods
Repairing drywall is a straightforward process, but it varies based on the type of damage:
- Small holes can be filled with joint compound or spackle, while larger holes may require patching with a new piece of drywall.
- For water damage, address the source of moisture before replacing damaged sections.
- Moldy drywall should be cut out and replaced entirely to prevent health hazards.
- Cracks can often be repaired with joint compound, but ensure to investigate underlying issues before extensive patching.
Preventive Care for Longevity
By following these preventive measures, you can prolong the life of your drywall:
- Ensure proper ventilation in high-moisture areas to minimize mold growth.
- Repair any leaks in plumbing or roofing promptly to avoid water damage.
- Utilize moisture-resistant drywall in areas prone to dampness.
- Regularly check for cracks or damage and repair them promptly.
Frequently Asked Questions about Drywall
How do I choose the right drywall for my project?
Consider the project’s location, such as moisture levels and fire safety requirements, to select appropriate drywall type, such as moisture-resistant or fire-rated options.
What tools do I need for drywall installation?
Essential tools include drywall screws, a utility knife, a drill, a level, a measuring tape, a square, and joint compound for finishing.
How can I repair holes in drywall?
For small holes, use spackle or joint compound. Larger holes may require a drywall patch cut from new drywall before applying compound to blend it in.
Is moisture-resistant drywall necessary in all areas?
Not necessary in every area, but it’s essential for spaces with high humidity, like kitchens and bathrooms, to resist moisture damage.
How do I finish drywall seams effectively?
Apply joint compound over the seams and embed tape while feathering the edges for a seamless finish. Sand and add additional coats as needed for best results.